How To Paint Glossy Furniture With Sanding
Hey there DIY friends!
It’s been quite a while since I’ve done a post! It seems like life just gets you busy and before you know it so much time has gone by quickly. So it’s time to get going again on another furniture makeover. Today we’re going to learn how to paint glossy furniture.
Have you ever seen a dated piece of furniture or craft project that desperately needs a makeover and just know you could make it look so much better? That was the case for me as you will see in today’s furniture painting project.

A friend of mine was selling this homemade wooden pump in their flower shop. Someone hand made it and definitely had great woodworking skills, but it lacked color. So I offered to take it home and give it a new life!
How To Start Working With A Glossy Finish
Since this wooden pump was not stained and just had a coat of clear sealer on it, there was not a lot of prep work involved. How do you paint glossy furniture? In this project, it did have a slightly glossy surface so it would need to have a scuff sand.
And to get good results, you should always give your project a good cleaning. So I wiped down the wooden pump with an all-purpose spray cleaner and a clean cloth to remove any dust and dirt.
I gave it a light sanding with a medium grade grit sandpaper to help the new paint adhere better and give it a smooth finish. And then I wiped it off with a microfiber cloth to remove all the sanding dust. The next step is choosing which colors of paint to use on this.
What Kind Of Paint To Use For Glossy Furniture
The first thing to do is decide what type of paint will be best to use on a glossy surface that’s been lightly sanded. Chalk paint is a great choice. It’s a water-based paint and can also be used as a coat of primer. Mineral paint works well too and some have a built in top coat.
You could also use a latex paint that comes in either a high gloss finish or a satin finish, and eliminate having to do a top coat or sealer. Most pieces of furniture will need at least 2 coats of paint. A fresh coat of paint along with clear top coats is an easy way to update vintage furniture.
What Kind Of Paint I Used
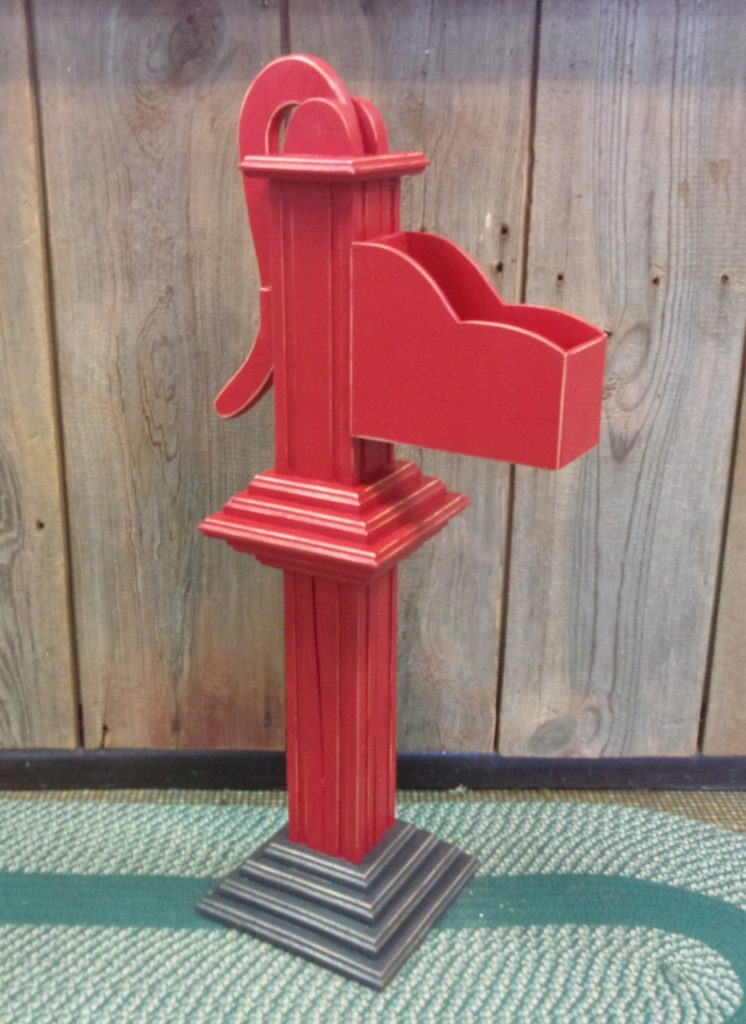
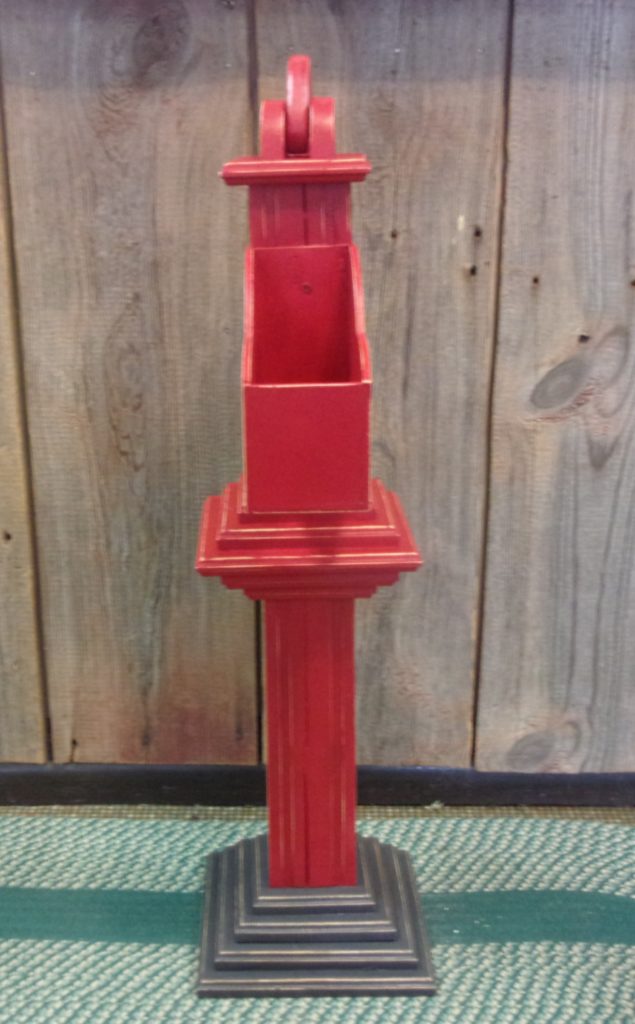
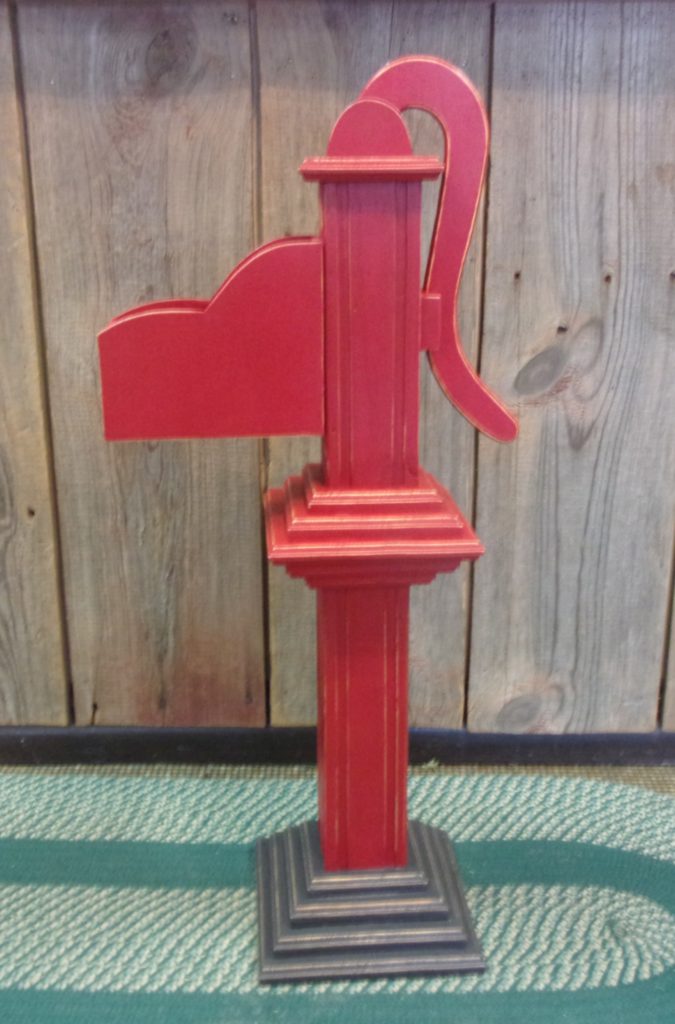
I started with painting the main areas of the pump with Americana Decor’s Chalky Finish Paint in Romance, which is one of their red colors. I love this brand of chalk paint because it’s so reasonably priced and seems to work pretty well for me. And it can be purchased at Hobby Lobby, Home Depot, or online. It did take about 2-3 coats of red paint for full coverage.
The base of the pump I painted with American Decor’s Chalky Paint in Relique, which is a dark gray color. I thought it gave the pump just enough contrast with the red paint and to also keep it somewhat looking like the real thing. Most metal pumps I have seen at farms are red, but they do vary depending on the location of the farm and the age of the pump.
After it was allowed to dry overnight, I sanded all the main edges of the pump with fine sandpaper, just enough to distress it a bit. To give the pump a professional-looking finish, I sealed it with two coats of Minwax Clear Satin Polycrylic, a water-based topcoat. It gave the pump a bit of a soft shine and will help to protect the finish of the paint.
How Do You Like Me Now?
So what do you think? Doesn’t this look so much better than just the plain wood it was before? You could add whatever flowers you like or even a hanging type fern or ivy would look nice too. What would you do with this pump? Where would you use it at your home?
Ideas For A Painted Hand Pump


This pump really came alive with color! This would look so lovely outside your front door, sitting on your patio, or even in your sun-room! The planter part would also look nice with some greenery or an ivy. Add an old tub or bucket in front of it, maybe a barn board bench, a sprinkling can, an old milk can, and there you have a great grouping for decoration! The ideas are endless!
What Products I Used
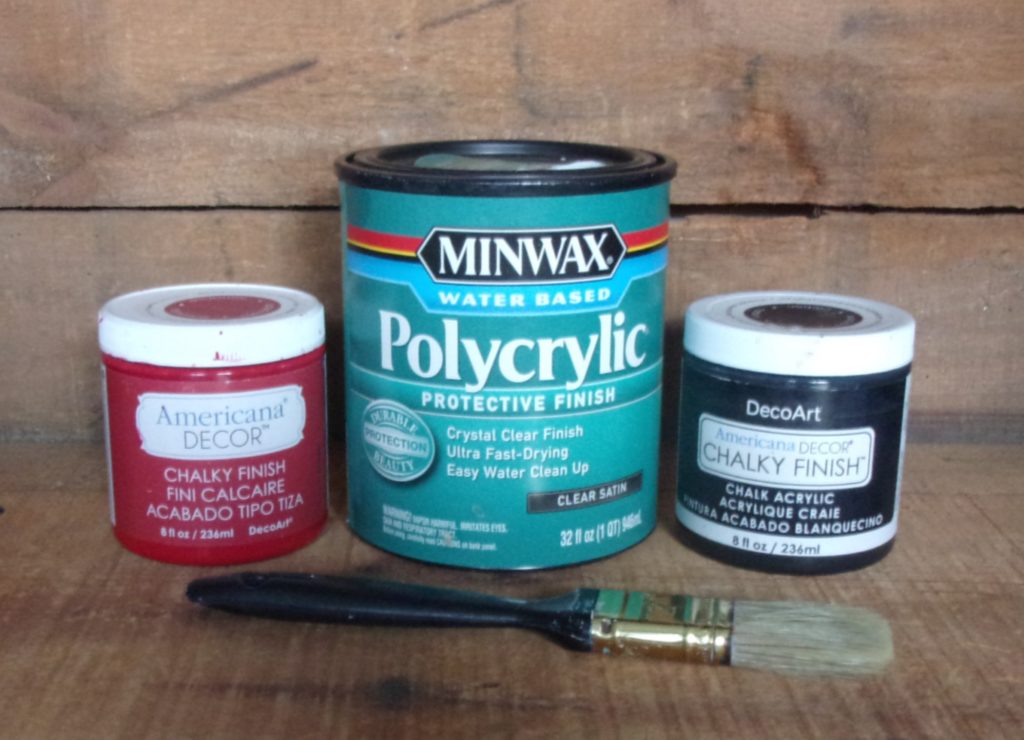
Here’s the products that I used to complete this project!
- Americana Décor Chalky Finish Paint in Romance
- Americana Décor Chalky Finish Paint in Relique
- Minwax Polycrylic Clear Satin Finish
- Sandpaper
- Paint brushes
- Microfiber Cloth
Before and After


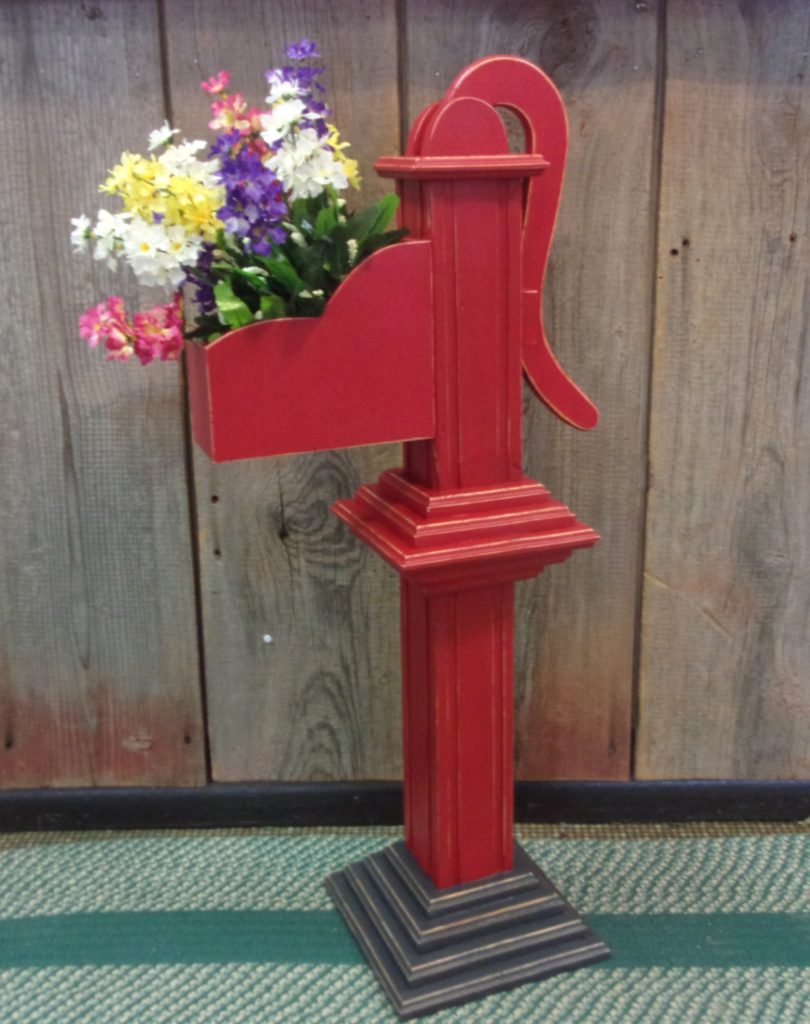
Learning how to paint glossy furniture like this wooden pump was fairly easy. But if your surface is really slick and shiny, then we need to do something else other than just sand. There are a variety of products out there that will help with this issue and we’ll tackle a project like that in another post.
Let me know what project you’re working on right now – I’d love to hear from you! And if you have any questions, I will do my best to answer each one personally. See you with my next furniture makeover!
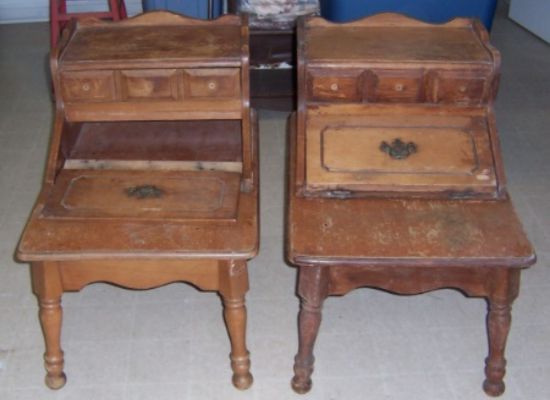
And if you want some more inspiration, then read my post on these wooden end tables – they were almost ready for the trash!
All Rights Reserved
Site Design by The Creative Impact
Site Design by The Creative Impact |
© 2025 Hen House Acres |
Let's Connect!
send me the list