Wooden Cookbook Stand with Drawers
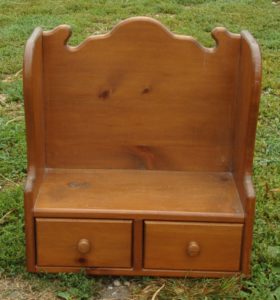
Welcome to another project everyone! For today’s makeover we’re going to give this wooden cookbook stand with drawers an update. It’s solid pine and is well built. Whoever made it left their name on the back. It could have various uses throughout your house. So let’s see what we can do with this!
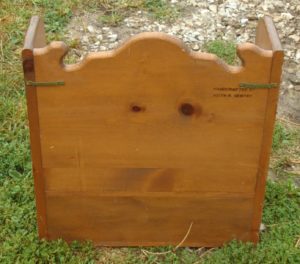
This was such a solid piece when I spotted this and I knew it could look a whole lot better. I think I actually only paid $4.00 for this cookbook stand with drawers at a flea market. Wouldn’t this look so nice on your counter in the kitchen?
Even if you didn’t want to put cookbooks on it, what about using it for a charging station? Or maybe something to set your tablet on while baking to follow a recipe? You could use the drawers for hiding your charging cords or other things.
So what did I do with this cookbook stand?
Cleaning The Cookbook Stand
The first thing I did was give it a good cleaning. Meaning that I wiped it all down with a household cleaner. If things are just dusty then I use a damp rag. But for items that are a bit more dirty, then I use some Mrs. Meyer’s All-Purpose Cleaner. And it gives it a nice smell too!
I then sanded all the wood down with a medium grit sandpaper. Overall, it was in good shape but there were a few knots in the wood that needed some smoothing. Plus that shiny topcoat needed to be sanded down as well. And you want to sand just enough of the shine off so the paint will adhere better. So don’t think you have to go down to the bare wood, you’re just roughing up the surface.
Using Primer On Wood Projects
Once the sanding was done, I wiped the cookbook stand down again, but this time with a micro fiber cloth. You want to be sure to get all those fine sand particles off your project before painting. And vacuuming your piece is always good too to get those tiny particles out of the cracks and crevices.
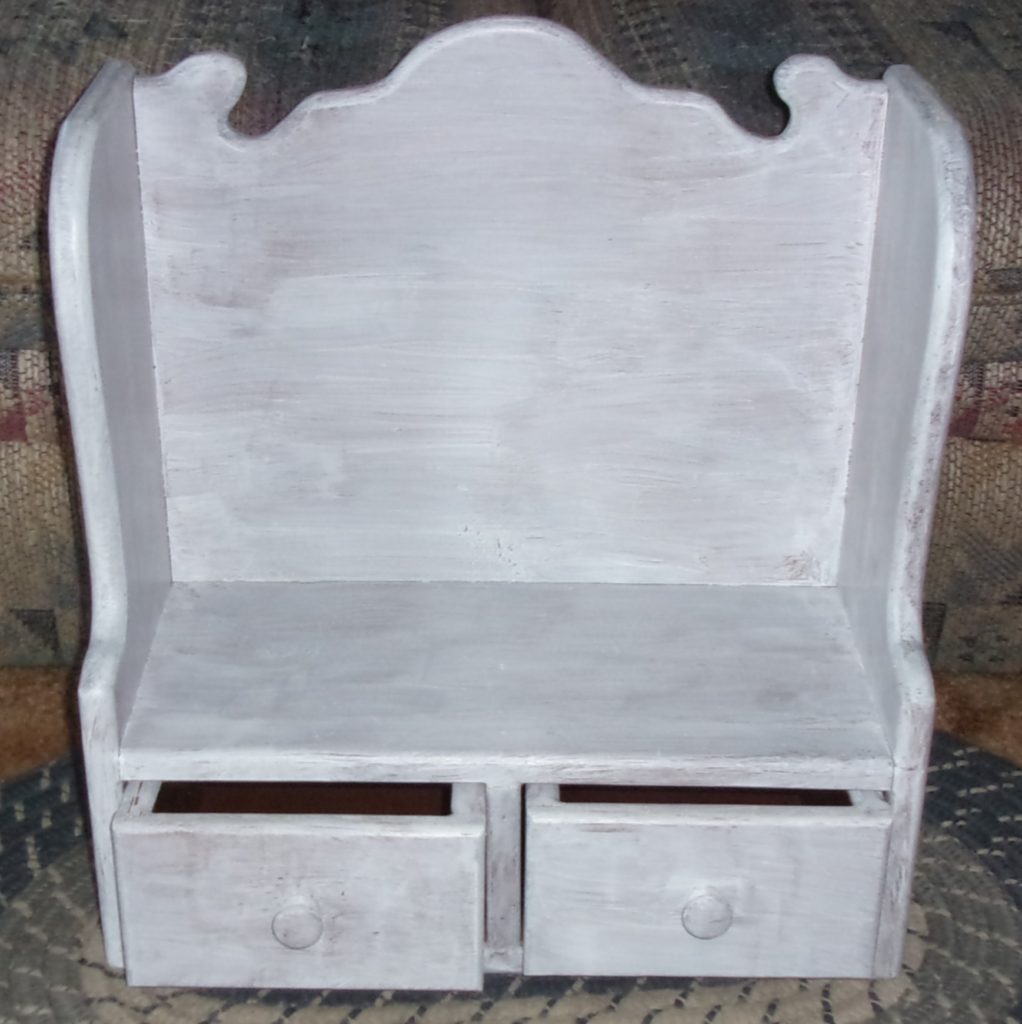
My next step was to use a primer on it. For this project I used my Zinsser Bulls Eye Water-Base Primer in white and brushed on only one coat. It dries fast and blocks any stains. Here is what it looks like with the primer.
Painting The Cookbook Stand
After I let my cookbook stand dry overnight, it was time to start painting.
For this project I picked a soft blue from Americana Decor Chalky Finish Paint called Colonial. It covered very well. I did brush on 2 coats of paint and let them dry for several hours in between coats. For the knobs on the drawers I painted them white with another one of the Americana Decor Chalk Paints.
Then I wanted to give it a bit of a distressed look. To do that, I just sanded lightly with a medium grit sandpaper.
You want to sand just a little on some of the edges on the drawers and the stand itself. You want to just sand enough to give that worn kind of look. I also sanded some on the back, sides, and top of the book shelf because I wanted a more than usual distress.
You might say I got a little carried away with the distressing part. LOL!
How To Finish Your Project
The last step is to always seal your projects with either wax or a varnish. I used one of my favorites – American Decor’s Light Satin Varnish. It goes on like your paint, dries quickly, has no odor, and leaves a nice, low sheen. And it’s water-based too so easy clean-up! Two coats is what I usually do on my projects.
Here’s the end result!
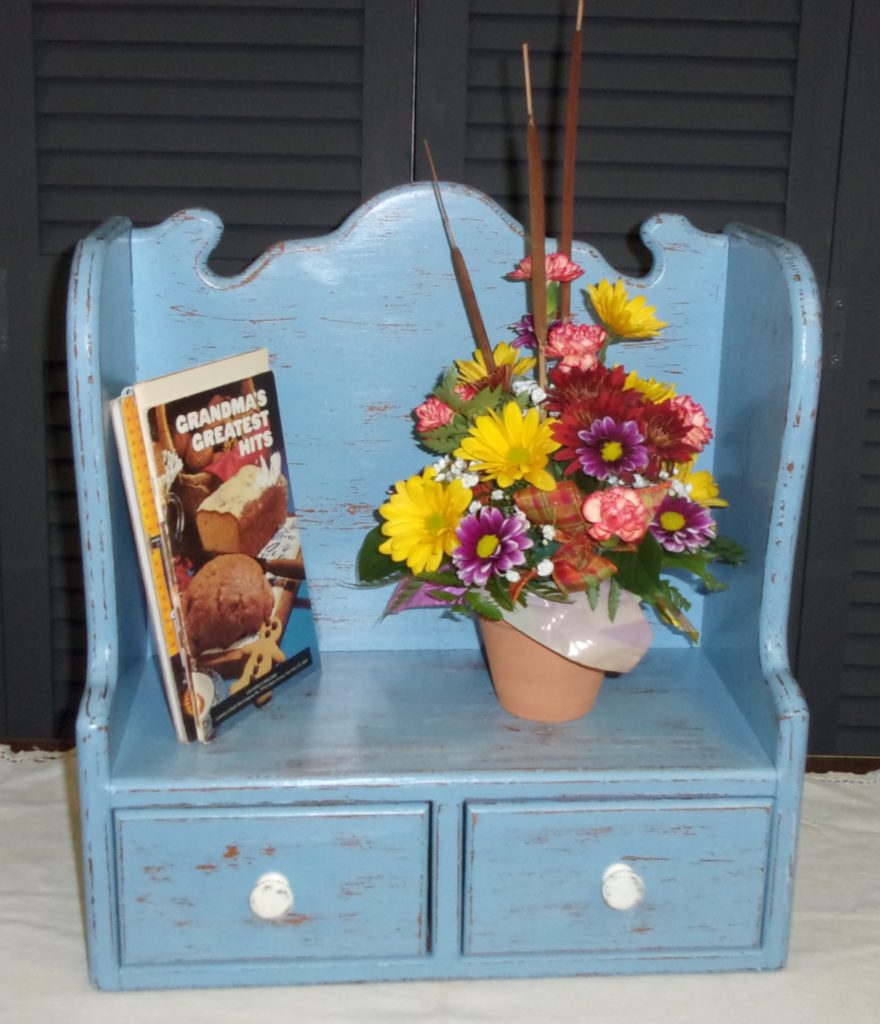
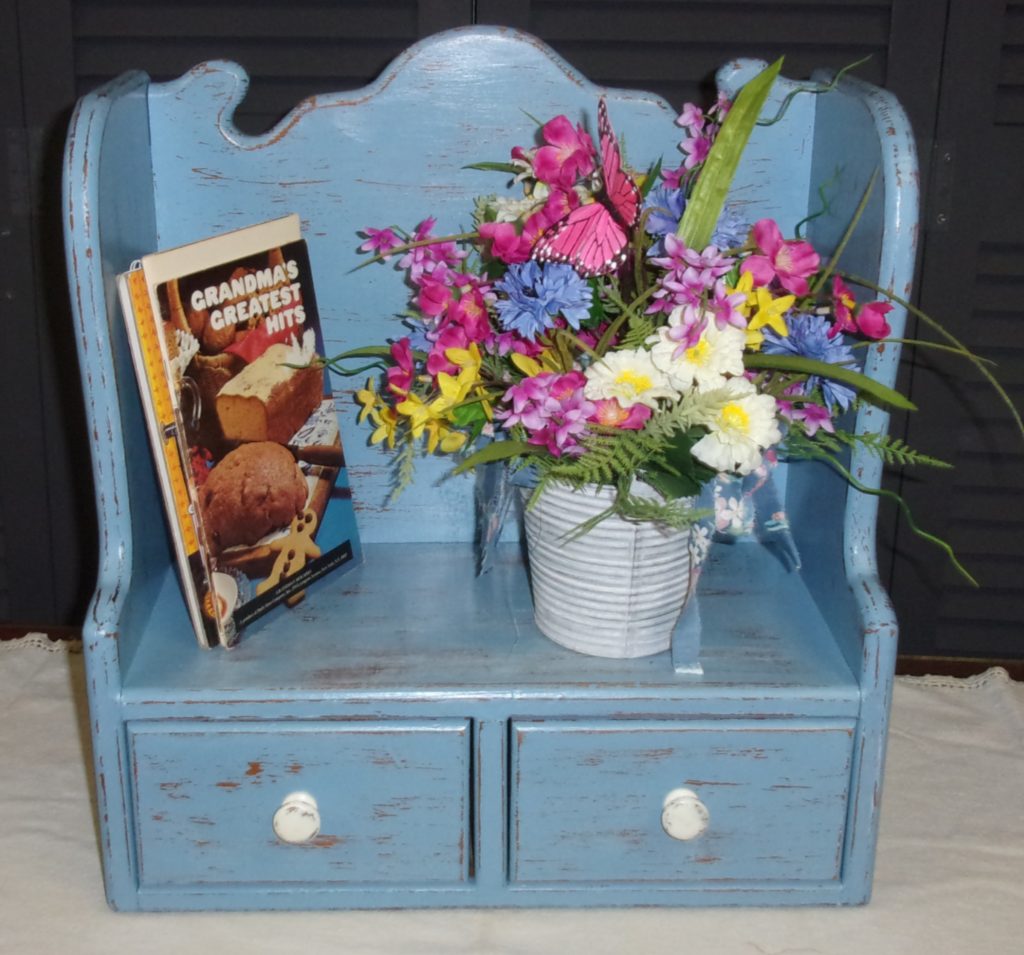
So what do you think? Doesn’t it look much better? I think it’s just the right size to use almost anywhere, including hanging on a wall. Another place this cookbook stand would work is in the bathroom! Placed on the back of the toilet, you could stack a few spare rolls of toilet paper and nail polish or makeup could be kept in the drawers. Let me know in the comments below where you could use the cookbook stand in your house.
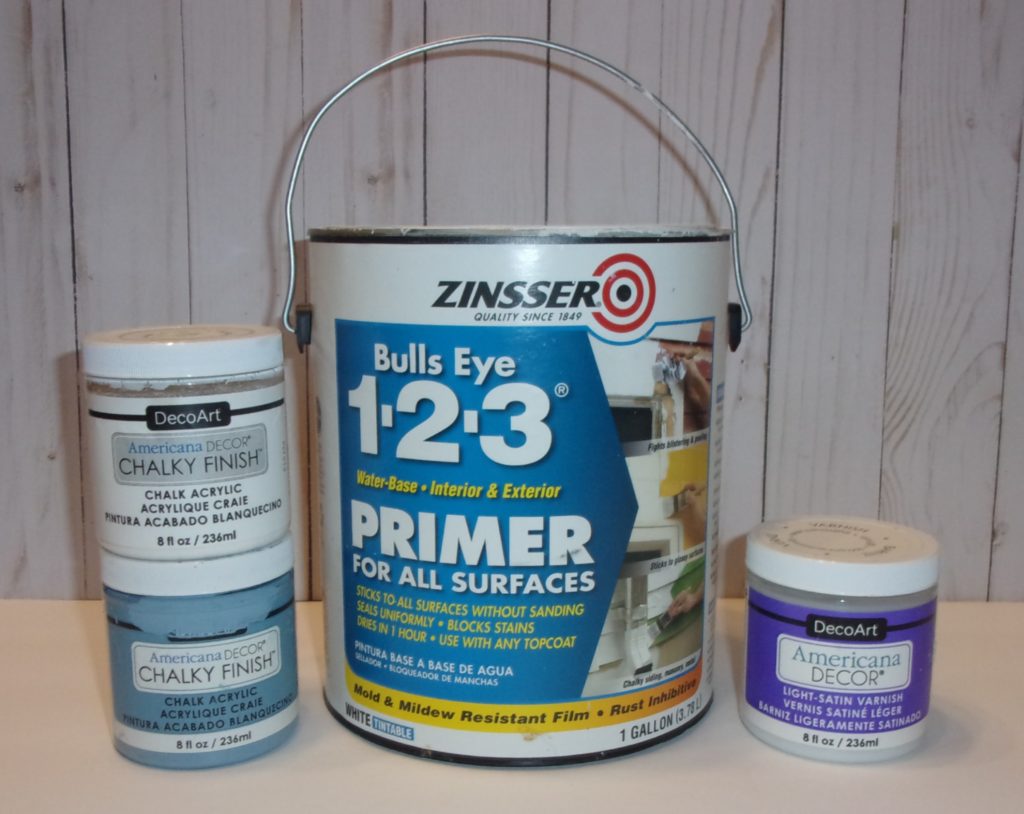
Here’s what I used to complete this project.
- Mrs. Meyer’s All-Purpose Spray Cleaner
- Microfiber Cloth
- Brushes
- Sandpaper
- Zinsser Bulls Eye Water-Based Primer
- Americana Decor Chalk Paint in Colonial Blue
- Americana Decor Chalk Paint in White
- American Decor Light Satin Varnish
See how simple this was! I’m all for simple since time and money are usually of the essence for me. What is your next project going to be? Let me know in the comments below. I’d love to hear your thoughts!
Have you seen my last makeover project? Pretty rough looking shelf, right? I changed the look of this wooden spools shelving unit with just a few simple fixes and I can’t wait for you to see it!
See you next time for another simple furniture or project makeover!

All Rights Reserved
Site Design by The Creative Impact
Site Design by The Creative Impact |
© 2025 Hen House Acres |
Let's Connect!
send me the list