Victorian Footstool Furniture Makeover – Easy Furniture DIY Project
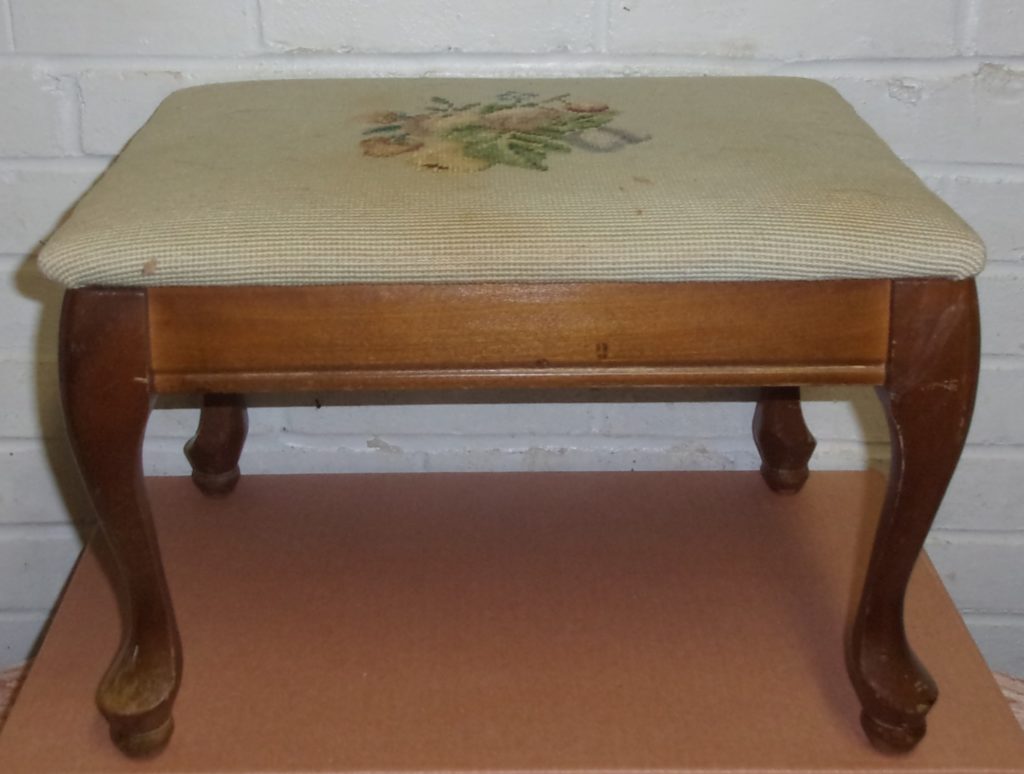
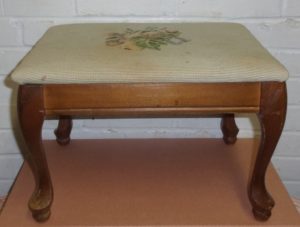
Hey there furniture friends! Today I’m going to show you how I gave this Victorian footstool a badly needed furniture makeover and made it look brand new. I’m not sure where I found this old piece of furniture, but by taking one look at it you know it had seen its better days and could use a whole new look.
The wooden legs and frame looked pretty sturdy so I know they could be painted with no problem. And I usually flip furniture over to look at the bottom side to make sure there are no splits in the wood and that the screws are there that hold the legs on.
The old embroidered footstool cover was kind of dirty, stained, and definitely needed some new fabric. And that is something that can easily be replaced.
How To Start A Victorian Footstool Makeover
The first thing I did was unscrew the top of the footstool from the legs and base. I then removed the embroidered fabric from the top by turning the footstool top over and loosening the staples that were securing the fabric.
I looked over the padding and it was still in good condition, so that would be used with the new fabric for the top of the footstool. The padding and wood board I set aside until later. The entire piece, the legs and frame, was wiped down with an all-purpose cleaner to remove any surface dirt.
Since I was going to paint the legs and framework, all the wood needed to be sanded down enough to remove some of the glossy finish. I used a piece of 100 grit sandpaper to scuff sand over all the wooden parts. Most old pieces have some type of sealer or finish on them and paint won’t stick to shiny surfaces.
You don’t have to sand it down to the bare wood either. Just sand it enough to dull the shiny top coat. Since I don’t have any photos of this stage, you’ll just have to trust me on this one. Sanding the surface helps the new paint to adhere better. And always be sure to wipe off the sanding dust with a damp cloth or microfiber towel before you start to paint.
How To Paint After Sanding
Now that the sanding is done, I started with brushing on a coat of white primer. I have found that when you want to paint something a light color, like white or cream color paint, it always pays off to use a primer to make sure nothing bleeds through. Ask me how I know. Some types of wood, especially on an older piece, have tannins in them and if not properly primed, you will see your painted piece have blotches of red or brown show up.
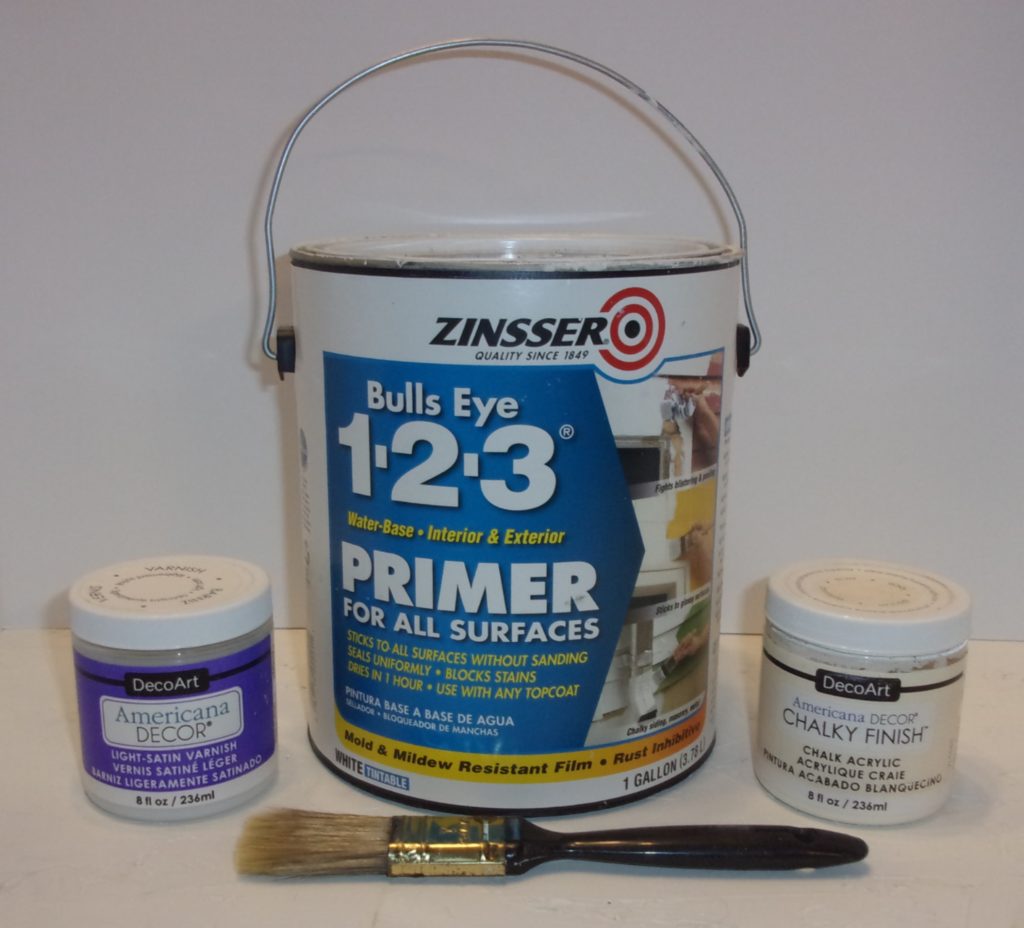
So, for this Victorian footstool I used Zinsser Bulls Eye 123 Primer to begin my makeover. There are two types of this primer/ stain blocker – one is water-based and the other is oil-based. For a light wood like this I used the water based one, which is always much easier because it’s soap and water clean-up for you and your brush. And the oil-based version does stink for a while until its dry and requires solvent to clean your brush.
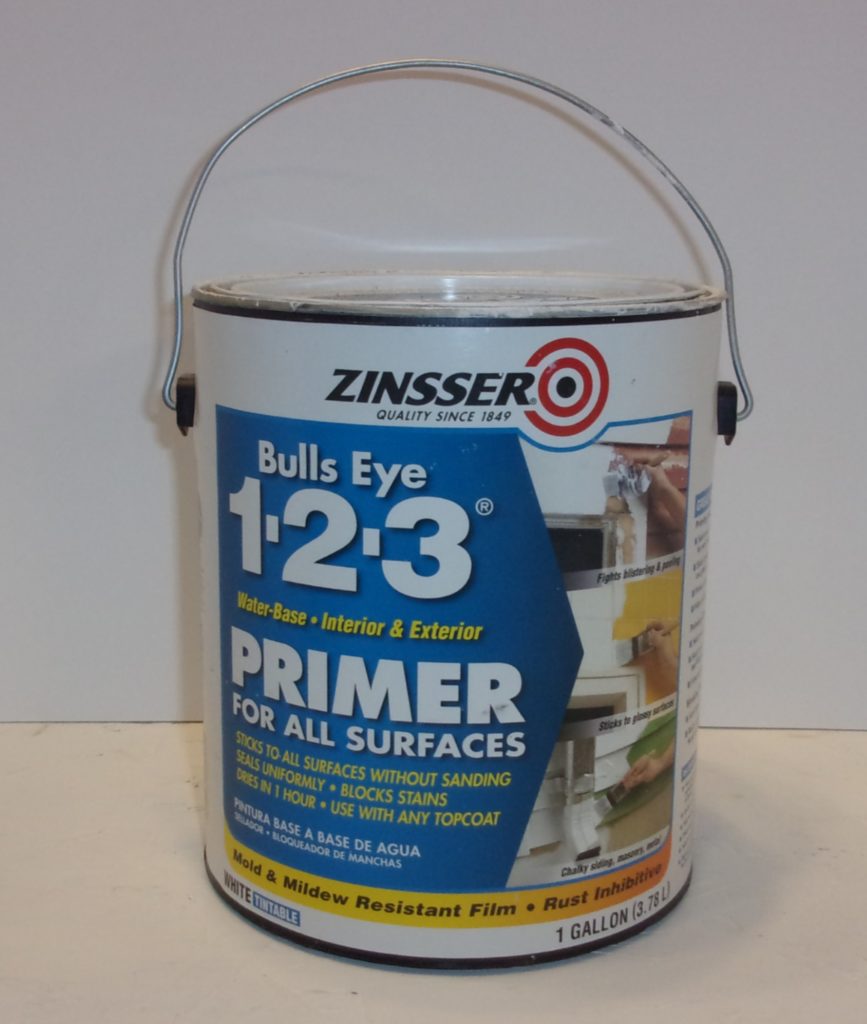
I applied two coats of primer, allowing it to dry in between each coat. After it was dry, I used a very fine grit 400 sandpaper and gave it a light sanding to smooth out the finish.
Now it’s time for the paint. For the Victorian footstool I chose Americana Décor Chalk Paint in Lace, an off- white color. It took 3 coats of paint to get the coverage I was aiming for. And when the final coat of paint was dry, I distressed it by using some fine grit sandpaper.
I almost always seal my projects with a finish of a clear coat to keep them looking nice and clean. For this project I used Clear Satin Varnish, also made by Americana Décor. You just brush it on like paint, it dries fairly fast, and is soap and water clean-up too. So one coat of the Clear Satin Varnish was enough to give the footstool a soft shine and an easy way to protect the paint.
Replacing The Upholstery Fabric
Now back to that Victorian footstool top. I found a beautiful piece of upholstery fabric that I felt would give it new life again. It was in my stash of upholstery fabric remnants that I keep just for recovering chairs and footstools.
And I saved the original piece of fabric that was on the footstool just to make a pattern for the new one. So all I had to do was just cut out another small piece of fabric the same size as the old one to fit over the padding. I stapled the new piece of fabric onto the board along with the padding using a staple gun. The padded board then got screwed back onto the legs and base. And that completes this small furniture makeover project!
Here’s The Victorian Footstool Now

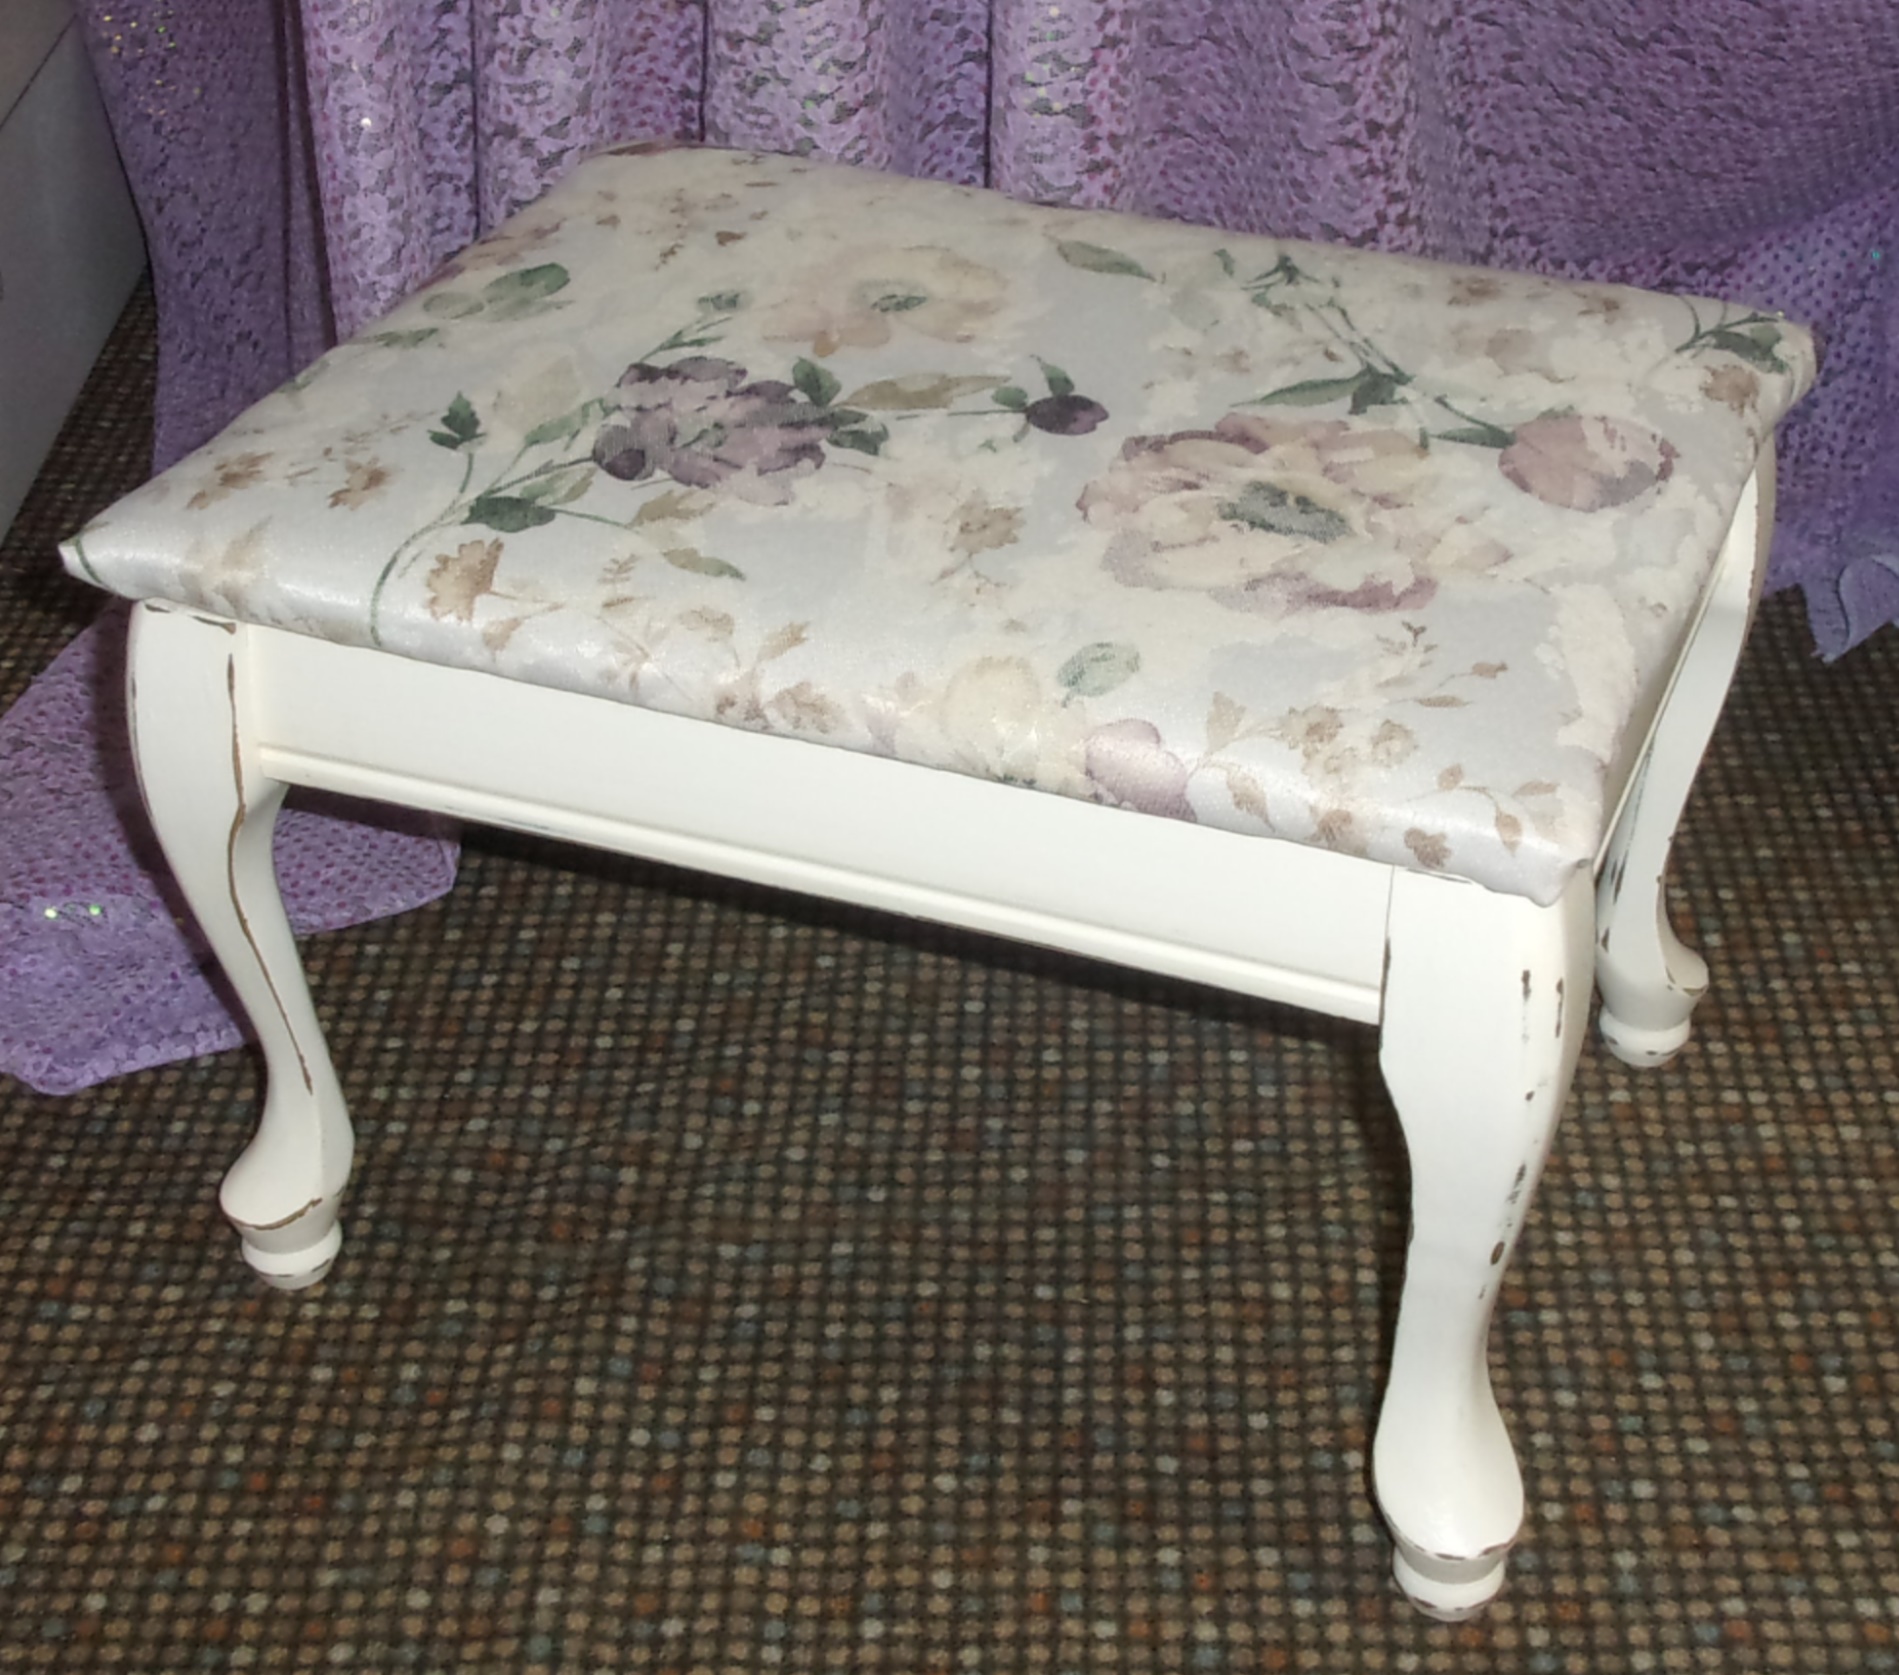
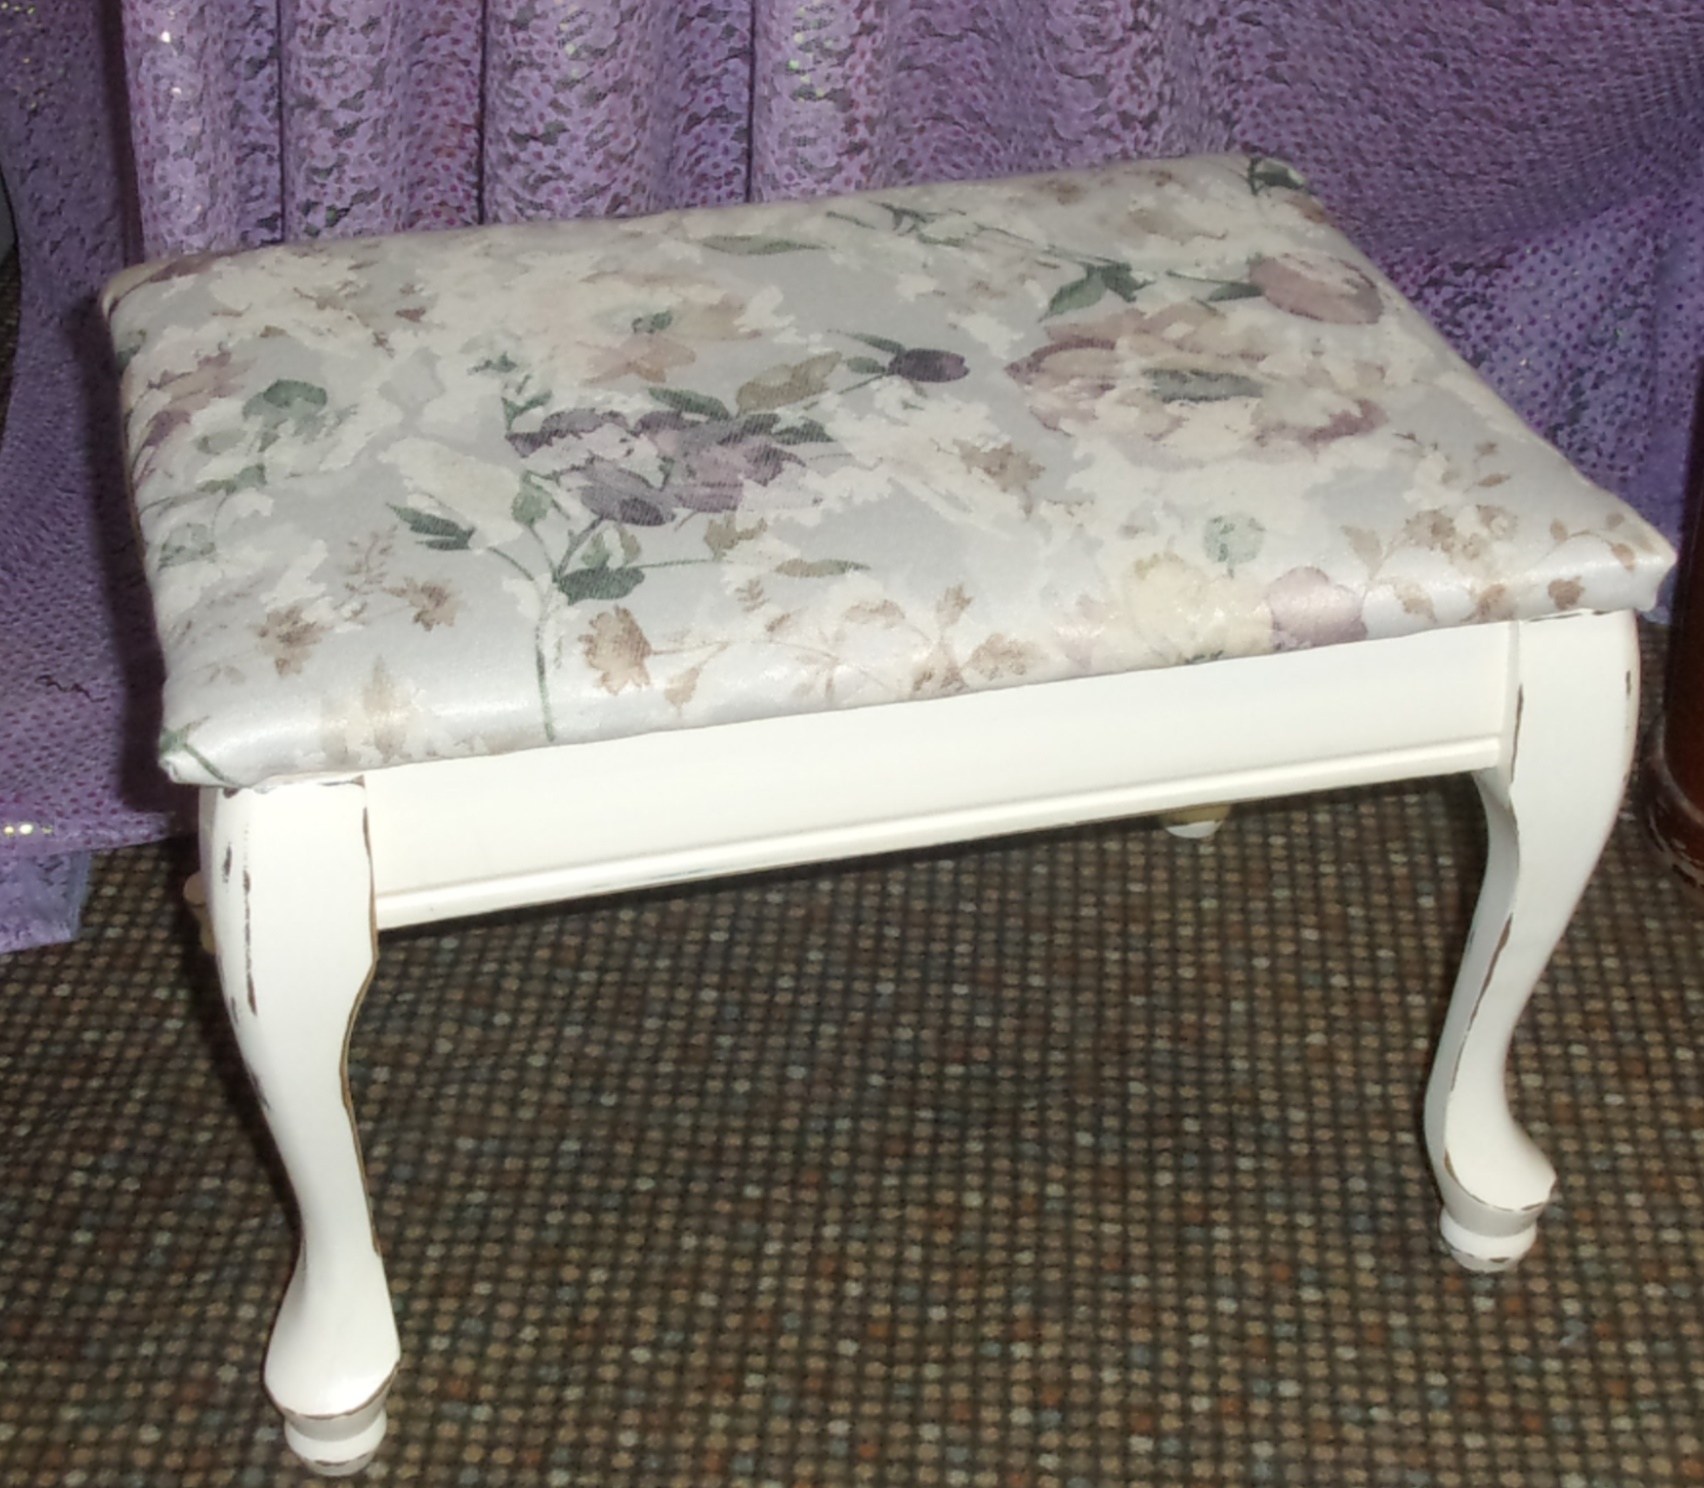
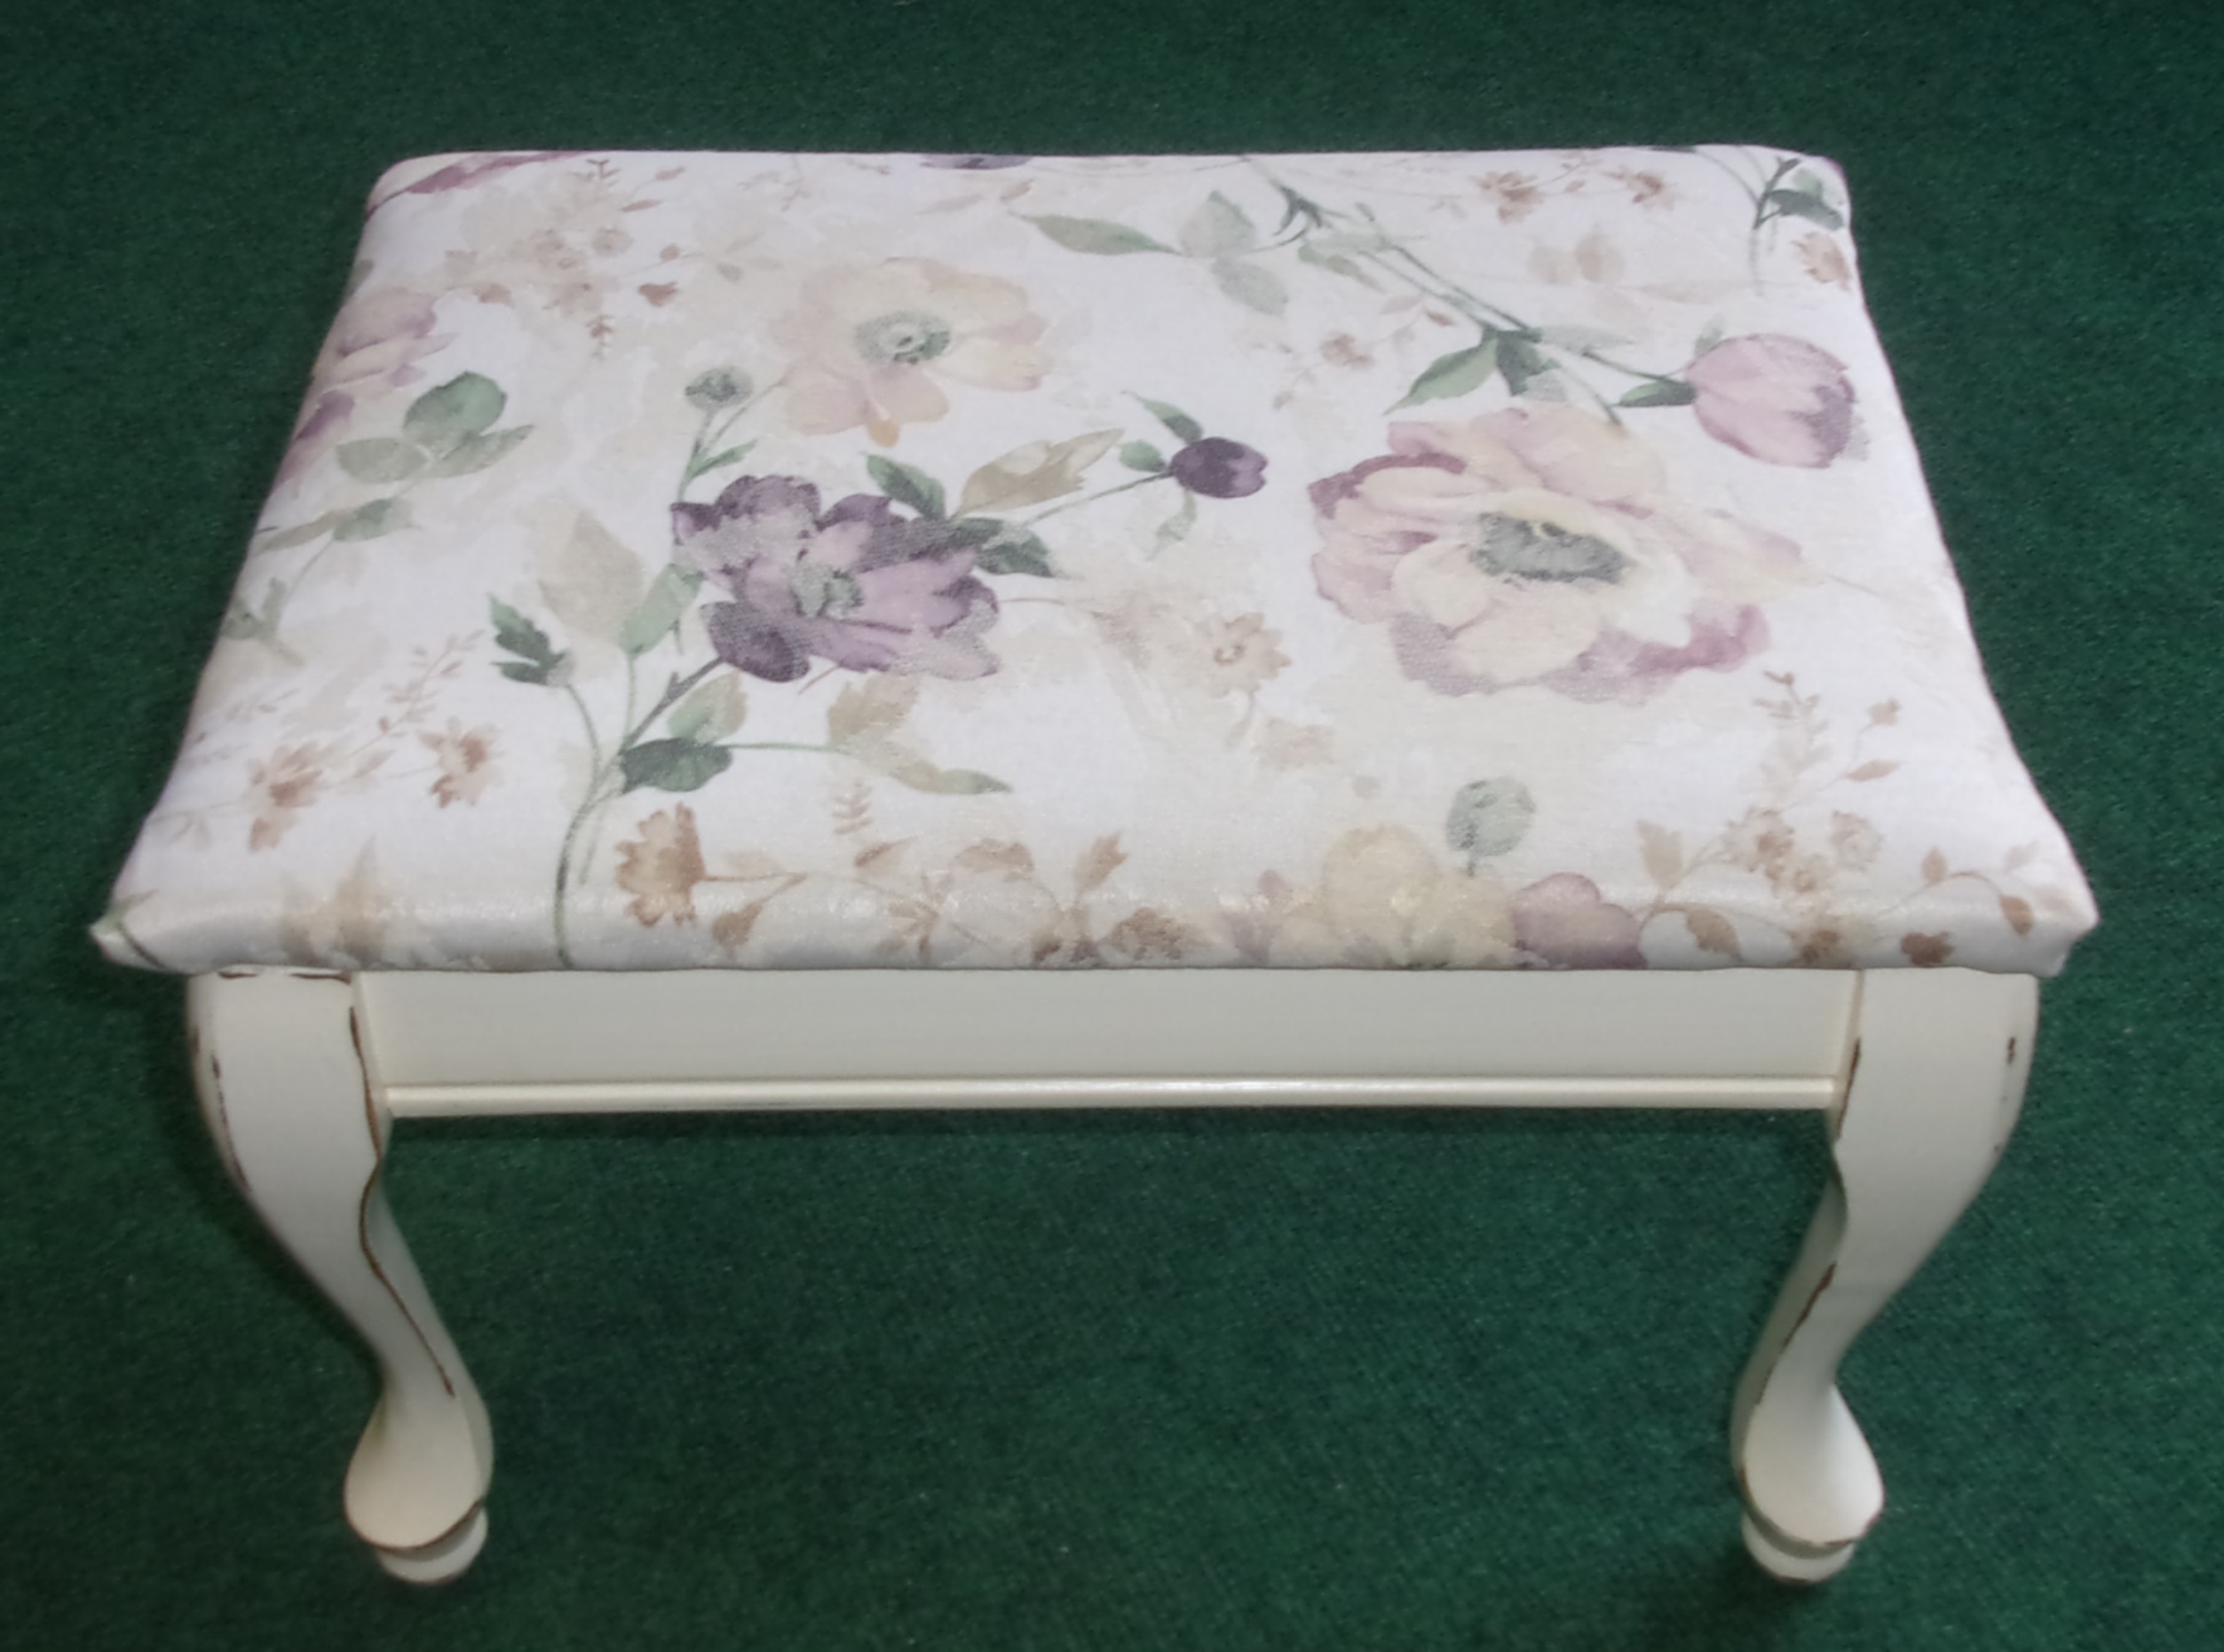
This Victorian footstool now looks so nice, don’t you agree? The variety of colors in the fabric makes it easy to use for decorating in any Victorian style home.
DIY furniture projects like these are a great way to update wood furniture and are fairly easy. You can find old pieces of furniture at garage sales, thrift stores, and you might even have one in your home now.
What’s going to be your next DIY furniture makeover?
Here’s the supplies I used in this makeover.
- Americana Décor Chalk Paint in Lace
- Zinsser Bulls Eye 123 Primer – Water Based
- Americana Decor Clear Satin Varnish
- Sandpaper
- Brush
- All-purpose Cleaner & Cloth
- Microfiber Towel
- Upholstery Fabric
- Staple Gun
If you liked this Victorian footstool makeover, you might also like these other furniture makeovers:
Coffee Table Makeover
Colonial Style End Tables Makeover
I’d love to hear from you! Got any questions or tips you’d like to share? Feel free to join in and leave your thoughts below! It’s always great to hear from my painting and DIY friends! See ya next time!
All Rights Reserved
Site Design by The Creative Impact
Site Design by The Creative Impact |
© 2025 Hen House Acres |
Let's Connect!
send me the list