Coffee Table Makeover

Hey Everyone! Welcome to my website and my first furniture makeover. Today I’m going to do a coffee table makeover showing you some simple steps I used to update this old wooden table.
I love to take old pieces of furniture, those that everyone walks by and never gives another glance to, and just give them some badly needed love. Meaning that they really need a furniture makeover. Some projects I will totally strip down and re-stain. And others simply need a fresh coat of paint to give them new life.
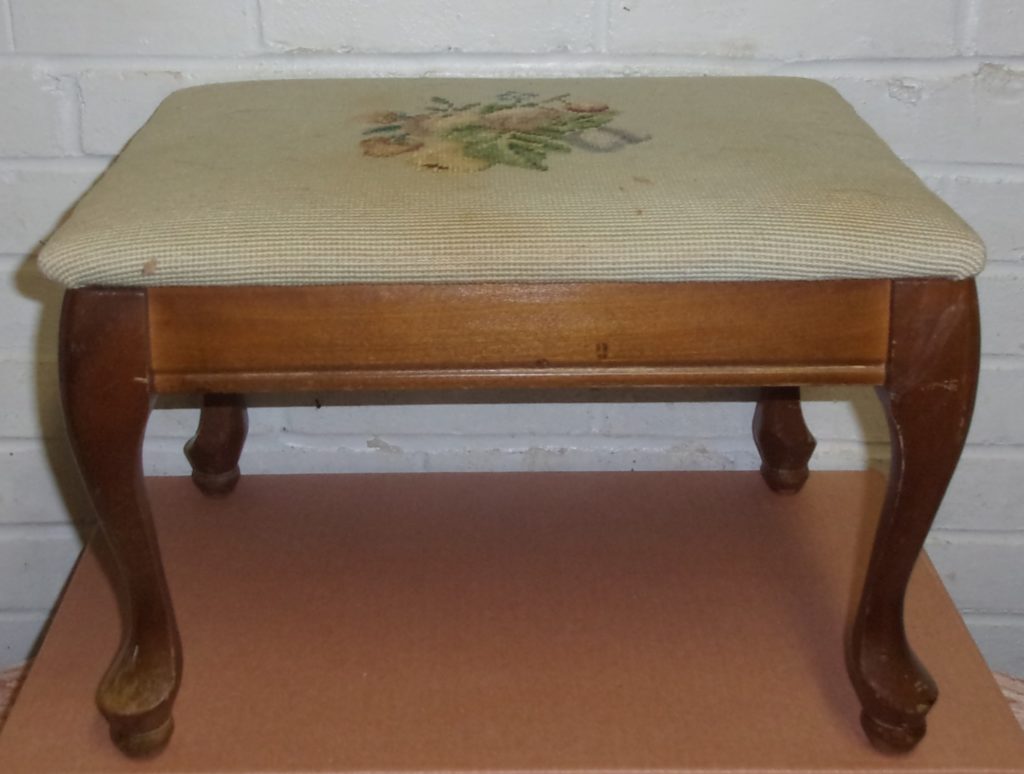
A furniture makeover can be either very simple or difficult, depending on the condition of the project. So let’s get started with this coffee table makeover project. It’s an old coffee table made of solid wood with an old stain.
I found this at a flea market for $5.00 and knew immediately it needed some improvements. Everything was in good shape. The top was smooth with no deep scratches, the legs were sturdy and attached well, and it was made of solid maple. Unfortunately, I do not have a ton of pictures of the process of my earliest furniture projects, so I will only be able to show the before and after shots.
Prepping A Coffee Table Makeover
The first thing I did was remove the decorative apron on the coffee table top. I simply unscrewed it from the base of the table. One good thing about wood furniture is that they have a beautiful wood grain and good bones. They are usually the perfect candidate for first time DIYers.
Cleaning the entire piece was next. All I did was wipe it down with a damp cloth to remove all the surface dirt and then used a lint-free rag after that.
How To Use Stripper
I used my favorite paint stripper, CitriStrip, to remove the finish from the entire top of the table. I love CitriStrip because it doesn’t have all those nasty fumes, it smells like oranges, and is an easy way to get rid of old finishes. I’ve safely used this inside my house during winter. And the stripping gel is thick enough to even use on vertical pieces without it running all over.
I like to pour some of the stripper in an old glass jar and use a chip brush to apply it on the table top. You just brush it on like paint and then wait a while, usually about 10-20 minutes, for it to start working. Once you see the stripper is bubbling, take a metal or plastic scraper across it to remove the old stain and finish. Sometimes you may have to apply more than one coat to remove the finish.
I usually follow up with a stripping pad to get the remaining residue and wipe the piece off with a wet rag. Be sure to let it dry thoroughly before sanding.
I did have to go over it more than once with the stripper to get all the layers of finish off. Once all the old finish was off, I sanded it smooth with 220 grit sandpaper using my palm sander. Before using new stain, I always go over it one more time with a super fine sandpaper, 400 grit or extra fine steel wool, for a smooth finish.
Staining Your Coffee Table
I decided to stain the existing top with Honey Oak Stain. Using an old cloth, I wiped on the stain and then simply wiped it off with a clean rag. I let it sit overnight to dry and then gave it a quick light sanding with fine sandpaper again. Also wiped it down with a lint-free rag before using the finish.
I then brushed on 2 coats of water-based poly finish, waiting in between coats to dry, per manufacturer safety recommendations. Using 2 coats of satin finish polyurethane from MinWax gave it a new look. The satin finish will last a long time and give it a good look.
Painting Your Coffee Table
The legs and apron were sanded also, but not down to the raw wood. A light sanding gives the paint something to grip onto. The paint color was a gloss black paint and it did need a second coat of paint. Once everything was dry, the apron was then screwed back onto the top of the finished table.
Your New Table


So what do you think of it now? Pretty nice looking, right? Here is that same table sitting in my shop waiting for a new home. And it only took a couple of days with a little bit of elbow grease to refresh this coffee table.
Furniture makeovers can be so rewarding and with hardly no extra cost. Coffee tables are the perfect size for beginners and are a nice addition to the living room. Add a crochet runner doily, a pretty candle, or whatever you like and you now have a beautiful piece of furniture that will last for years.

What’s Next?
What will be one of your future projects? Will it be an end table, bookcase, or cabinet? Furniture can be found at a thrift store, garage sales, or from your own home. Free furniture can sometimes be found on the curb, through Facebook marketplace, or a Facebook group. Just be sure to stay away from anything that has water damage as those pieces can be difficult.
Be sure to stop back again and see what our next project will be!
You might be interested in seeing how these projects turned out after their makeovers!
Supplies I Used
- CitriStrip
- Chip Brush
- Sandpaper
- Steel Wool
- Stain
- Satin Finish
- Gloss Black Paint
- Old Rags
- Lint-free Cloth
All Rights Reserved
Site Design by The Creative Impact
Site Design by The Creative Impact |
© 2025 Hen House Acres |
Let's Connect!
send me the list

