Fancy Walnut Table Improved
Hey there furniture friends! I’ve got another great project to share with you today!
My latest project is a table made out of solid walnut.

Walnut is one of my all-time favorites choice of wood. It has a darker grain that makes it so beautiful. I can understand why furniture builders would use it when making furniture. And being that it is expensive to buy, most walnut furniture will hold its value.
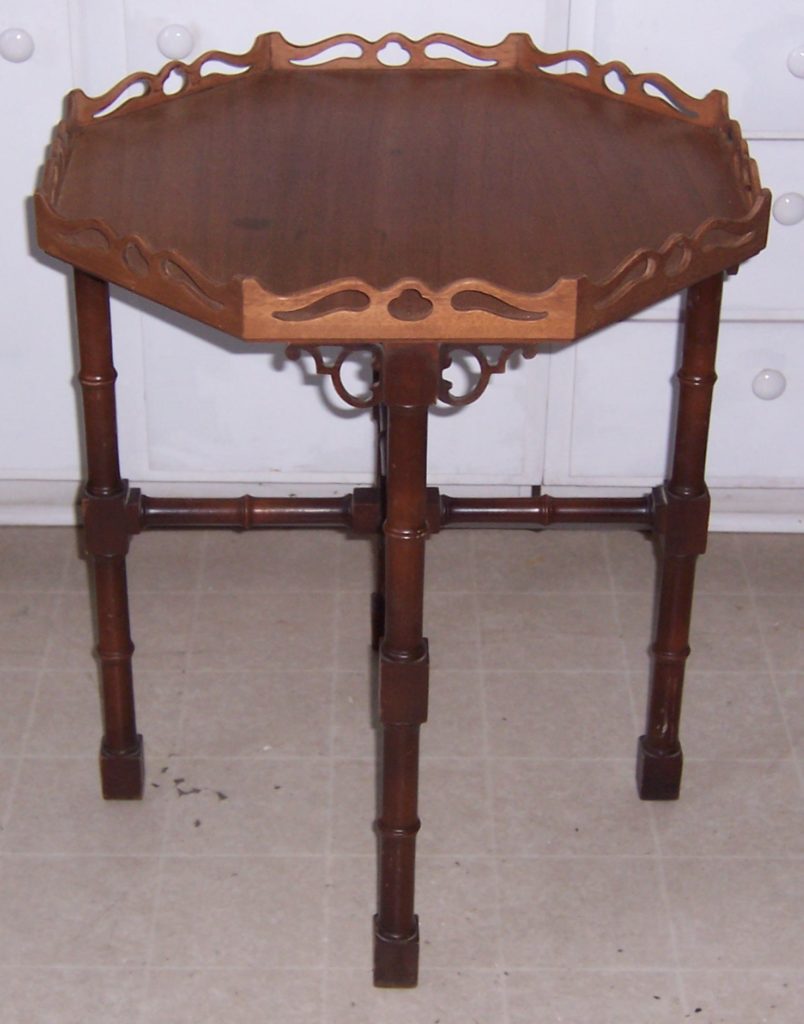
This fancy walnut table was in great shape, and I normally do not like to paint walnut. But for some reason it just needed something else to make it stand out more. Don’t you just love the fancy cutout work along the top of the table and around the legs? You just don’t find craftsmanship like this anymore.
So, now you’re wondering why would I want to change something as lovely as this fancy walnut table? What else could you possibly do to it?
You can see that the condition of the wood on the top is in good shape. Isn’t the wood grain pretty? But these legs need something more. Like maybe a coat of paint to freshen them up. Maybe you don’t agree with me on this one, but you’ll like it much better when it’s done. Besides that, the legs were all nicked up and scratched. And it would have been a pain to strip them as well.
We want to keep things simple!
You probably can’t tell from the pictures, but it was missing one of those fancy cutouts around the leg on the left side in the first photo. Since it would be so hard to try to duplicate that fancy cutout I thought it might not be so noticeable if the bottom of the table was painted.
What to do first
The top of the table and the cutout work around the edges all seemed to be in fine condition, so I left them alone. I waited until I finished with the rest of the table before doing anything more with the top.
The legs all got a light sanding with a medium grit sandpaper. Then I wiped them down with a micro fiber cloth to remove any remaining dust.
So out came my can of gloss black acrylic paint and I gave everything on the bottom of the table two coats. And of course you have to let each coat dry first before doing the next. I usually let each coat of paint dry for 24 hours before moving on to the next one.
Finishing it up
The last thing I did was put a coat of clear satin finish on the top and on the sides of the top to protect it from any water stains or rings. It gave it a nice low sheen and really made the wood grain stand out so beautifully.
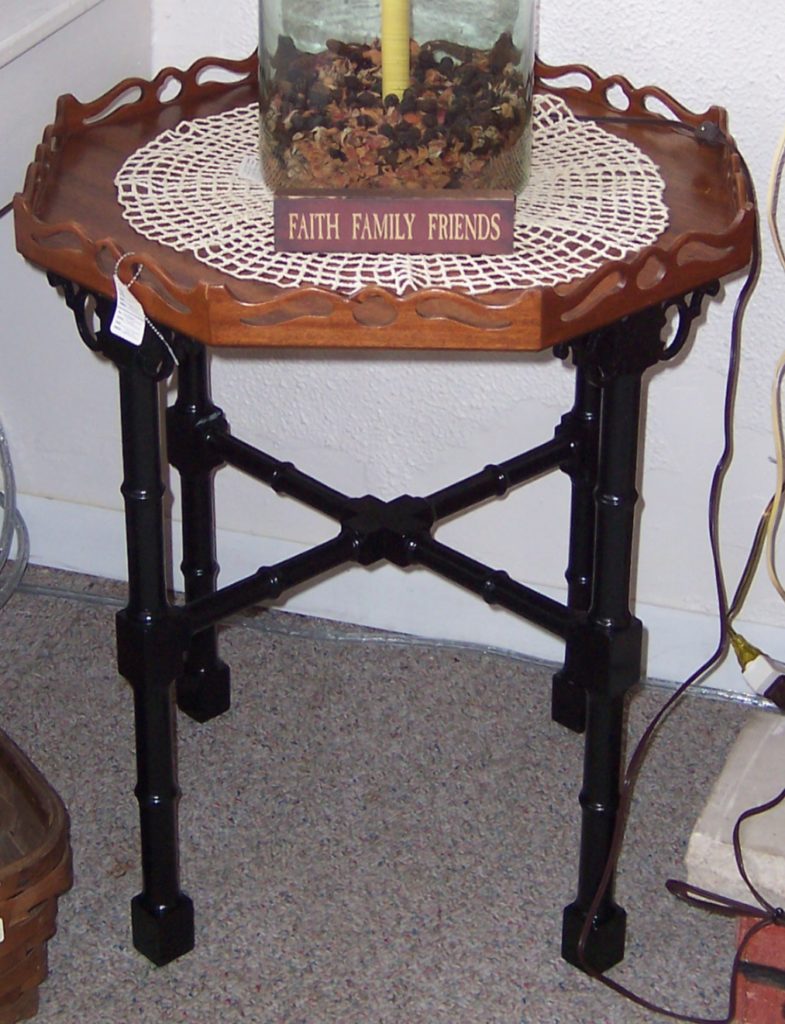
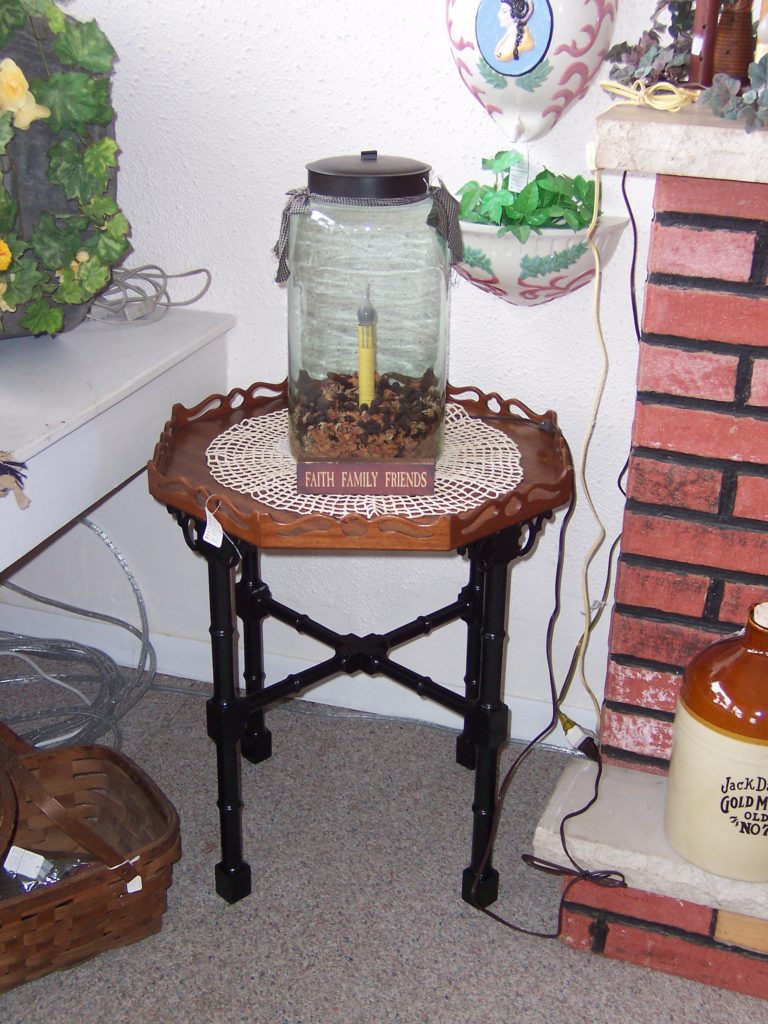
Unfortunately, I do not have more than one photo of the finished table. And the one I do have is when it was sitting on display for sale in my shop, and that was several years ago. You will notice that some of my posts do not have as many photos as others. That is because I wasn’t thinking of doing a blog back them. But you still get the point. Look what you can do with some simply fixes to make your furniture a bit more appealing.
And here is the finished product!! What do you think?

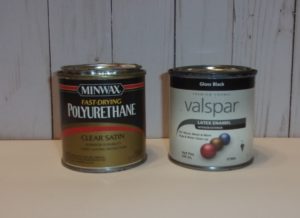
And here’s what I used on the fancy walnut table:
The only other I needed was medium grade sandpaper and a micro fiber cloth, besides paint brushes. Just a very simple fixer upper that anyone can do.


All Rights Reserved
Site Design by The Creative Impact
Site Design by The Creative Impact |
© 2025 Hen House Acres |
Let's Connect!
send me the list